How many times have you looked at a dent on your wooden floor and feared you have already wasted your money? And it happens the most when you shift your chair from one place to another. Scratches appear on the wood floor while dragging the chair. Seeing those scratches, you might have felt like it’s gone forever, but the truth is, that there is a fairly simple way to get rid of it actually. For that wooden floor of yours there’s actually chair mats available so that when you sit on a chair or work on your computer desks, from your favorite reclining sofa etc.. the scratches or dents can be prevented to an extent from the chairs you sit on. But let’s assume your floor ends up getting scratched or dented from your chair or in any other way. You might worry that how will you fix those scratches or dents on your wooden floor. But in reality, you might not believe it but it isn’t that hard, and once you’re done, you would barely be able to tell the difference. Here’s how to get dents out of hardwood floors:-
Step 1: Pour a little water on the affected area and just a little surrounding it. You can also pour the water so that it falls inside the depression of the dent. That way, you can be certain that it most definitely wet. (Do this only when the area is small. If there is a large dent, then you might have to try it with the help of a professional.)
Step 2: Take a wet cloth or a damp paper towel and take out all the excess water with it. Squeeze it once to remove any excess water and place it directly on the top of the dented area. This helps to create a buffer that protects the wood from damage when you work your magic on it. (It would be better to use some old piece of cloth that you have no worries about rather than a fairly new handkerchief.)

Step 3: Now that your cloth is perfectly placed there, let the wood soak it for a minute or two. The moisture is required because this water will soften the wood, and then, when you apply heat on it, it will expand, and the dent will lift out. So the deeper this water will go inside the wood, that much easier will it be for you.

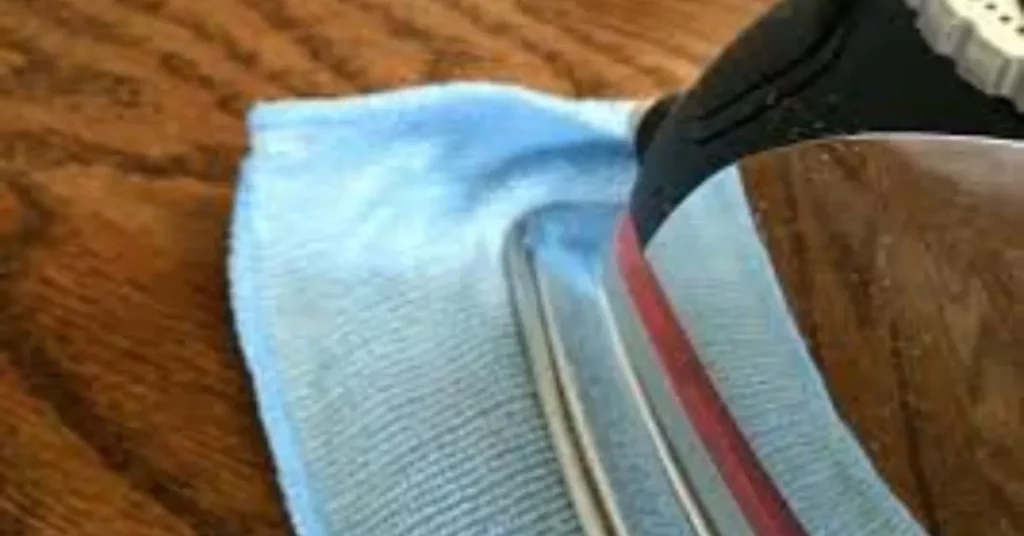
Step 4: Now it is finally time for phase two. We hope you aren’t scared of irons because it is time to steam the dent. The first thing you would need to do, though, is to plug in your cloth iron and turn its setting to the highest possible. Once the iron starts warming up, you can be sure to work your magic. Do note here that the hotter the iron, the more effective it will be. (A precaution to note from personal experience here is that no matter how hot or how cool you think your iron is, do not check it by touching in on your palm. It might cause a severe burn.)
Step 5: Once it is all heated up, take the iron and run it over the cloth that you placed upon the dent. Slowly, move it around a few times in circular motions. Gradually, widen the area you iron but no matter what, continue to heat the cloth until it is dry. Lift a corner to see if your work has given any results or not. (Just a corner, mind you! Do not lift the entire cloth in one go).If you have worked it right though, then the heat produced from the heated iron will cause the compressed wood to swell up and help it return to its original form. Note here that you must only perform this step if you are familiar with how to use an iron. If you are not, then it would be advisable for you to take help from someone else and work it accordingly.
Step 6: If it is a minor dent, then this might be all you will need. If however, there are multiple marks and depressions then you can repeat the process until the worst of them have been raised. Just be sure to dampen the cloth with fresh water every other time.

Step 7: Once that is done, you might want to air dry your wooden surface before making any further changes to it. Damp wood is always prone to breakage. So just don’t replace any furniture or don’t walk over it too much in order to avoid any accidents there might be. Because the wood shrinks as it dries, it might be a problem if you apply pressure on it very soon.

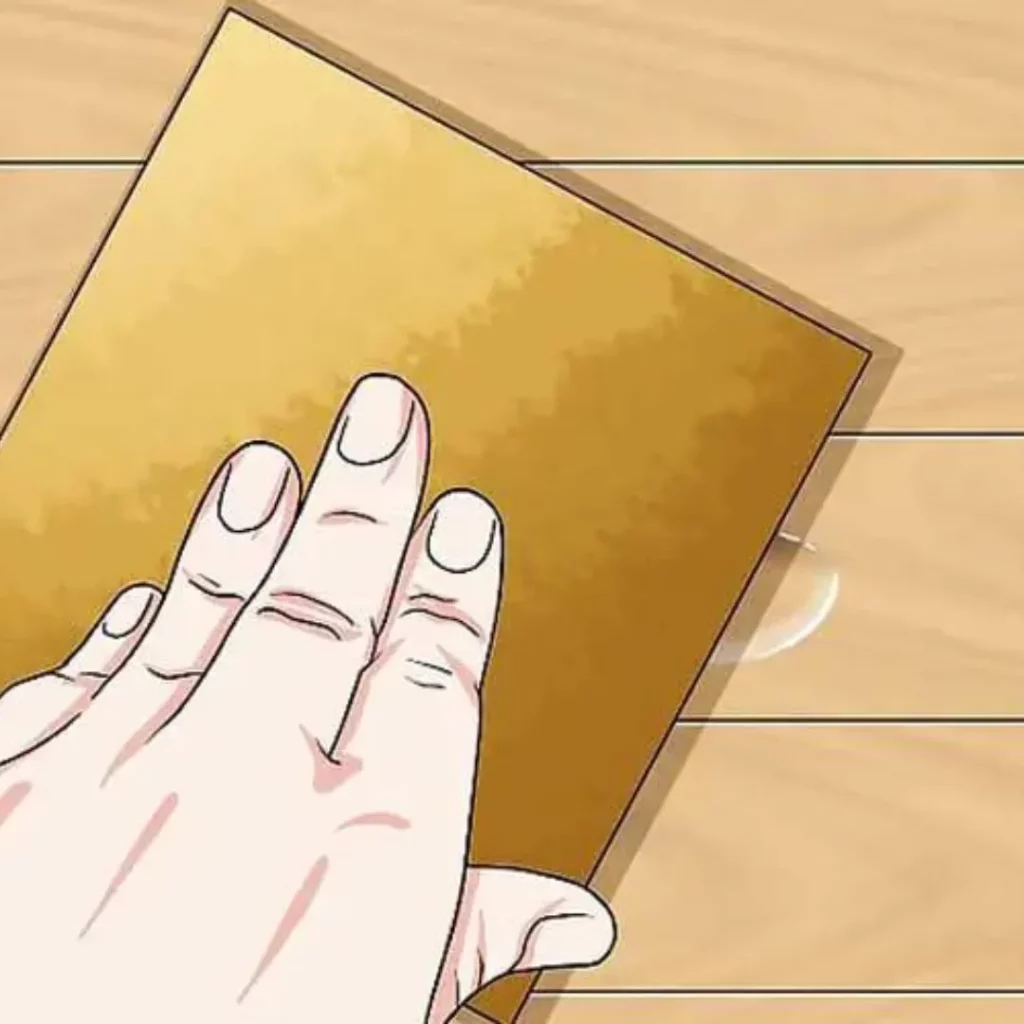
Step 8: There is a very high possibility that you might have left certain flaws on the wood behind, or that the water would have produced some sort of discoloration in the wood. In that case, you can run a piece of sandpaper over the paper so that the color finally matches the wood around it. Do not scratch the wooden surface while doing so. It might already be weak due to the dent and then the heat. Scratching might result in breakage. So just use light and smooth strokes.
Applying coat of paint
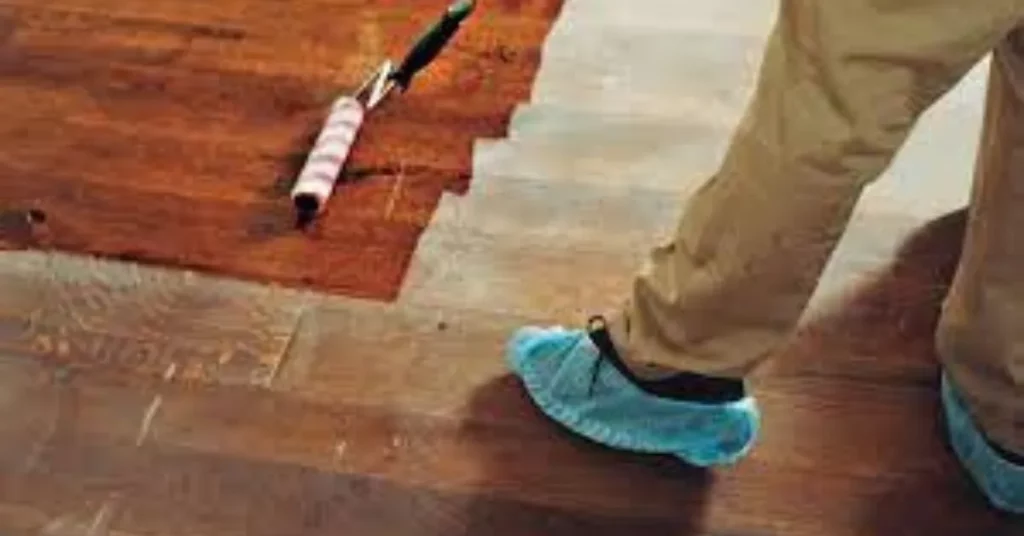
Step 9: When you are done with all of this, then make sure that you add up a fresh coat of paint on it. This will laminate the wood and conceal any traces of the dent if there are any. This will also act as a small barrier against any future bumps. Mostly, you won’t have to do anything more than a single cover of paint. Once you are done with it, you can leave the wood to dry overnight. Do not touch it when it is still wet, or the paint is still wet. Sometimes, steaming your hardwood floor won’t be enough to remove all the dents. If there are any deep depressions, then you must get an expert to look through it in order to avoid any breakage. There are ways to eliminate extensive damage to the wooden floor as well. And that is mainly it! That is a simple step by step guide on how to get dents out of hardwood floors. If you are looking for a way on how to get dents out of finished wood, however, then that process is fairly similar to this one as well. The only difference there is, in that case, is that you must not use any and every rag there is. Try to find a fairly thick piece of rag. This will create things a lot easy for you.
How to fix dents in prefinished hardwood floor:
If you are looking at how to get rid of your dents in your prefinished hardwood floor, then that isn’t much difficult either. Before you begin though, you must check with your floor manufacturer and verify the melt stick color compatibility with him. This is basically a prefinished hardwood floor filler melt stick.

Step 1: Clean the area around the dent and make sure that it is free of any oil, dust, and dirt.
Step 2: Select the wax stick that matches the color of your floor, after having discussed it with your manufacturer.
Step 3: Install the flat heating tip and ignite a micro torch.
Step 4: Once you are done, touch the wax stick to your micro torch tip and drip a very small amount of it on the dent. The wax should be soft. So when it is, take a putty knife and draw it back over the wax and push it inside the dent.
Step 5: Once the wax is dry, shave down the excess wax with a razor so that there is nothing left of it in the surrounding wood. Make sure not to scratch the area around the dent when you are using that razor. If you are uncomfortable using one, then, by all means, get someone else to do it else it might result in some permanent damage.
How to fix dents in engineered wood floors
Now this one is tricky. Mainly because you cannot iron the dents or wax the dents in engineered wooden floors. No, instead, you will have to apply some putty in them or re-gloss them to give the desired effect. Here is how you can do it:
fix dents in engineered wood floors
Step 1: First off, sit by each dent and sand out the inside of it using sandpaper, preferably 200-grit sandpaper. If it is necessary, then you can fold the paper in a triangle. This becomes important when you need to get the paper’s edge into the dents. Make sure that the interior of the dent does not have any shine in it. Use a vacuum cleaner or just a clean piece of cloth to wipe it clean and take away any dust it might have.
Step 2: Press some wood putty into the dent with the help of your thumb. Pack it tightly and let it mound a little on the top of the surface. Once you are done, use your putty knife to flatten the putty. You can do this by cutting it off at the level of the floor. Basically, just push your knife through the putty.
Step 3: Let it dry for a night, mainly eight hours. Use the sandpaper to sand the surface. This will smoothen your surface. Wipeout any remaining dust else it might stick to it.
Step 4: Use a small paintbrush to dab polyurethane over the putty. Do not touch it for at least six hours. And once that is done, sand the new gloss to dull it a little. Add another layer of polyurethane and let it dry up for 12 hours.
And with that, you know how to get dents out of hardwood floors and that too, all kind of them. But really, we hope you don’t have to face them in the first place!


